Changing the thermal paste on your CPU is essential for maintaining optimal cooling performance and preventing overheating. Whether you’re using a desktop PC or a laptop, this guide will walk you through the steps on how to change thermal paste on a CPU, ensuring your system runs smoothly.
How Often to Change Thermal Paste on CPU
Before diving into the process, it's crucial to know how often to change thermal paste on a CPU.
Generally, it’s recommended to replace the thermal paste every 2-3 years. However, if you notice higher temperatures or if you’ve been using your system under heavy loads, it might be necessary to change it sooner.
How to Change Thermal Paste on CPU PC
Tools You’ll Need
- Thermal paste
- Isopropyl alcohol (90% or higher)
- Lint-free cloth or coffee filter
- Plastic card or thermal paste spreader
- Screwdrivers
- Compressed air (optional)
Step-by-Step Guide
1. Power Down and Unplug
Ensure your PC is completely powered down and unplugged from the wall outlet. Disconnect all peripherals and move your PC to a clean, static-free workspace.
2. Open the PC Case
Remove the side panel of your PC case using a screwdriver. This will provide access to the CPU cooler.
3. Remove the CPU Cooler
Carefully disconnect the CPU cooler’s power cable from the motherboard. Unscrew or unclip the cooler, depending on its mounting mechanism, and gently lift it off the CPU.
4. Clean the Old Thermal Paste
Use isopropyl alcohol and a lint-free cloth to clean the old thermal paste from the CPU and the cooler's base. Ensure both surfaces are completely clean and free of residue.
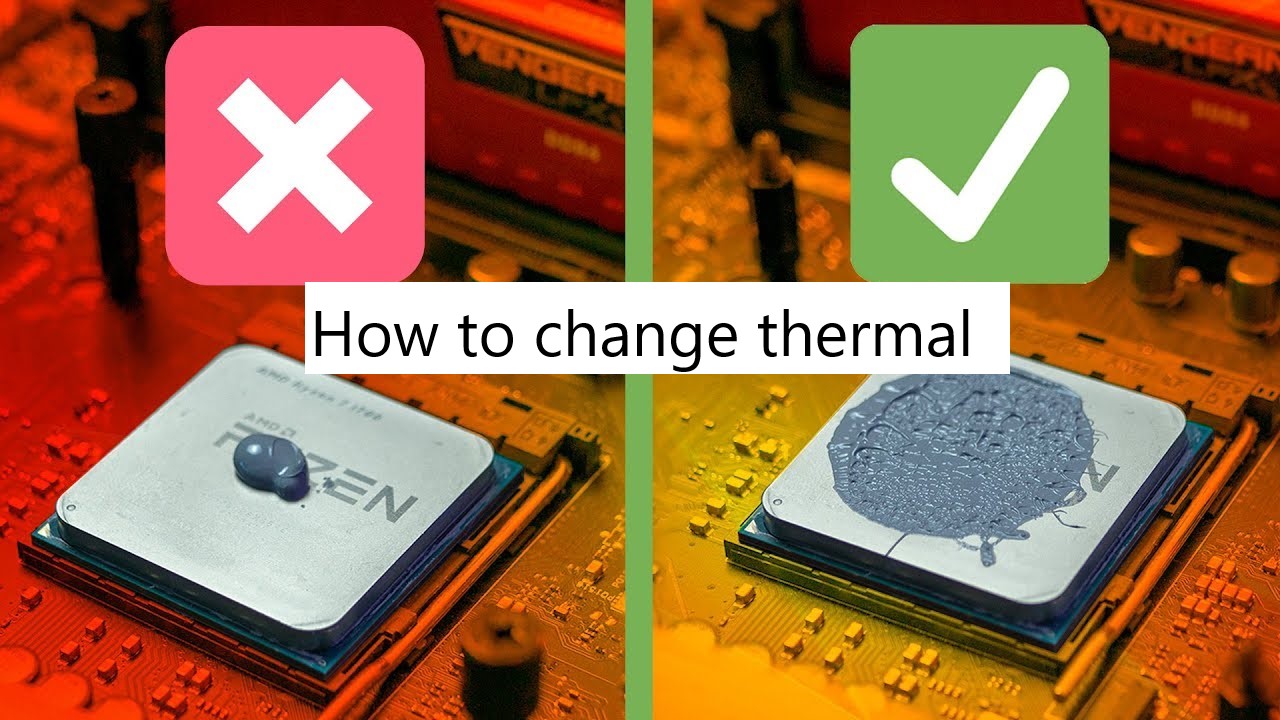
5. Apply New Thermal Paste
Apply a small, pea-sized amount of thermal paste to the center of the CPU. Use a plastic card or thermal paste spreader to evenly distribute it across the surface, if needed.
6. Reattach the CPU Cooler
Place the CPU cooler back onto the CPU, ensuring it aligns with the mounting holes. Secure it in place by tightening screws or clipping it down. Reconnect the power cable to the motherboard.
7. Close the PC Case and Power Up
Reattach the side panel of your PC case and reconnect all peripherals. Plug in your PC and power it up. Check the temperatures using monitoring software to ensure the thermal paste is functioning correctly.
How to Change Thermal Paste on CPU Laptop
Tools You’ll Need
- Thermal paste
- Isopropyl alcohol (90% or higher)
- Lint-free cloth or coffee filter
- Plastic card or thermal paste spreader
- Screwdrivers
- Compressed air (optional)
- Plastic prying tool (optional)
Step-by-Step Guide
1. Power Down and Unplug
Turn off your laptop and unplug it from the power source. Remove the battery if possible.
2. Open the Laptop Case
Consult your laptop’s manual for instructions on accessing the CPU. Typically, you’ll need to remove the back cover using a screwdriver. Some laptops may require removing the keyboard or other components first.
3. Remove the CPU Cooler
Disconnect the CPU cooler’s power cable and unscrew or unclip it. Carefully lift it off the CPU.
4. Clean the Old Thermal Paste
Use isopropyl alcohol and a lint-free cloth to clean the old thermal paste from the CPU and the cooler's base. Ensure both surfaces are completely clean and free of residue.
5. Apply New Thermal Paste
Apply a small, pea-sized amount of thermal paste to the center of the CPU. Spread it evenly if necessary, using a plastic card or thermal paste spreader.
6. Reattach the CPU Cooler
Place the CPU cooler back onto the CPU, aligning it with the mounting points. Secure it in place and reconnect the power cable.
7. Reassemble the Laptop
Reattach all components you removed, including the back cover and battery. Plug in your laptop and power it up. Check the temperatures using monitoring software to ensure the thermal paste is functioning correctly.
Conclusion
Knowing how to change thermal paste on CPU for both PC and laptop is a valuable skill that helps maintain your system’s performance and longevity. Regularly replacing the thermal paste can prevent overheating and ensure your CPU operates at optimal temperatures. Follow these step-by-step guides to confidently change the thermal paste and keep your system running smoothly.